Design with AI.
Without looking AI-made.
This is the workflow I use to make AI-assisted designs that still feel original and intentional. No coding experience, no Figma, no endless prompts. Just ChatGPT, Pinterest, Codex and your own taste.
AI slop is what you get when the tool makes the design decisions for you. The fix isn't a better prompt. It's a process where your taste leads and the AI does the production work.
Interactive version on Meraki MindFour different designs.
The same workflow produced four completely different hero sections: bold, minimal, sculptural and playful.
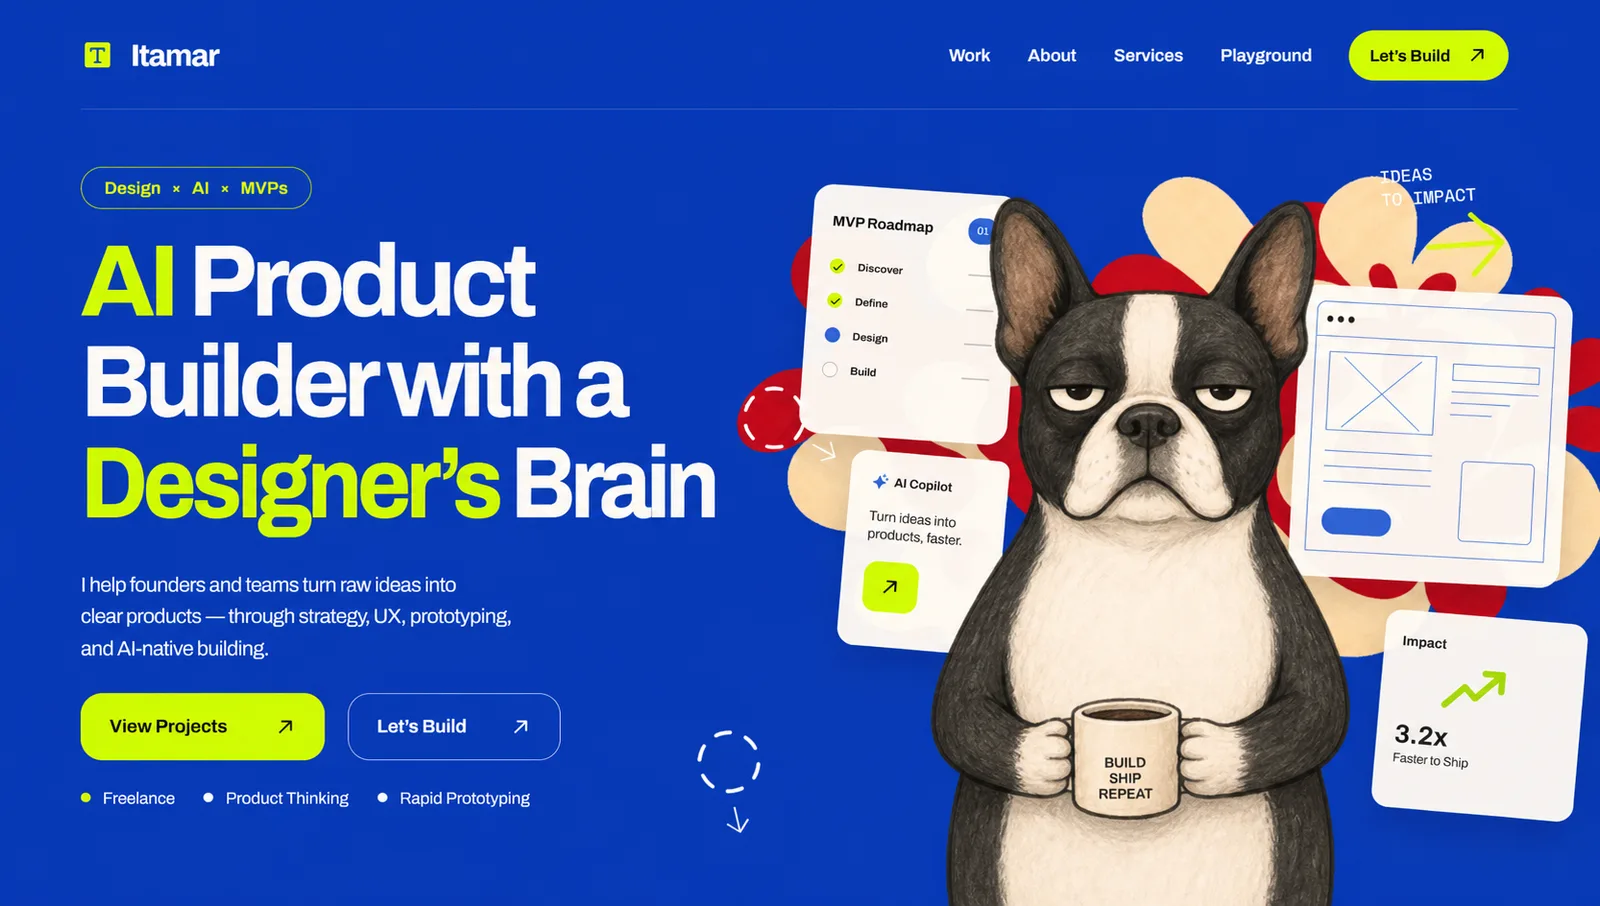
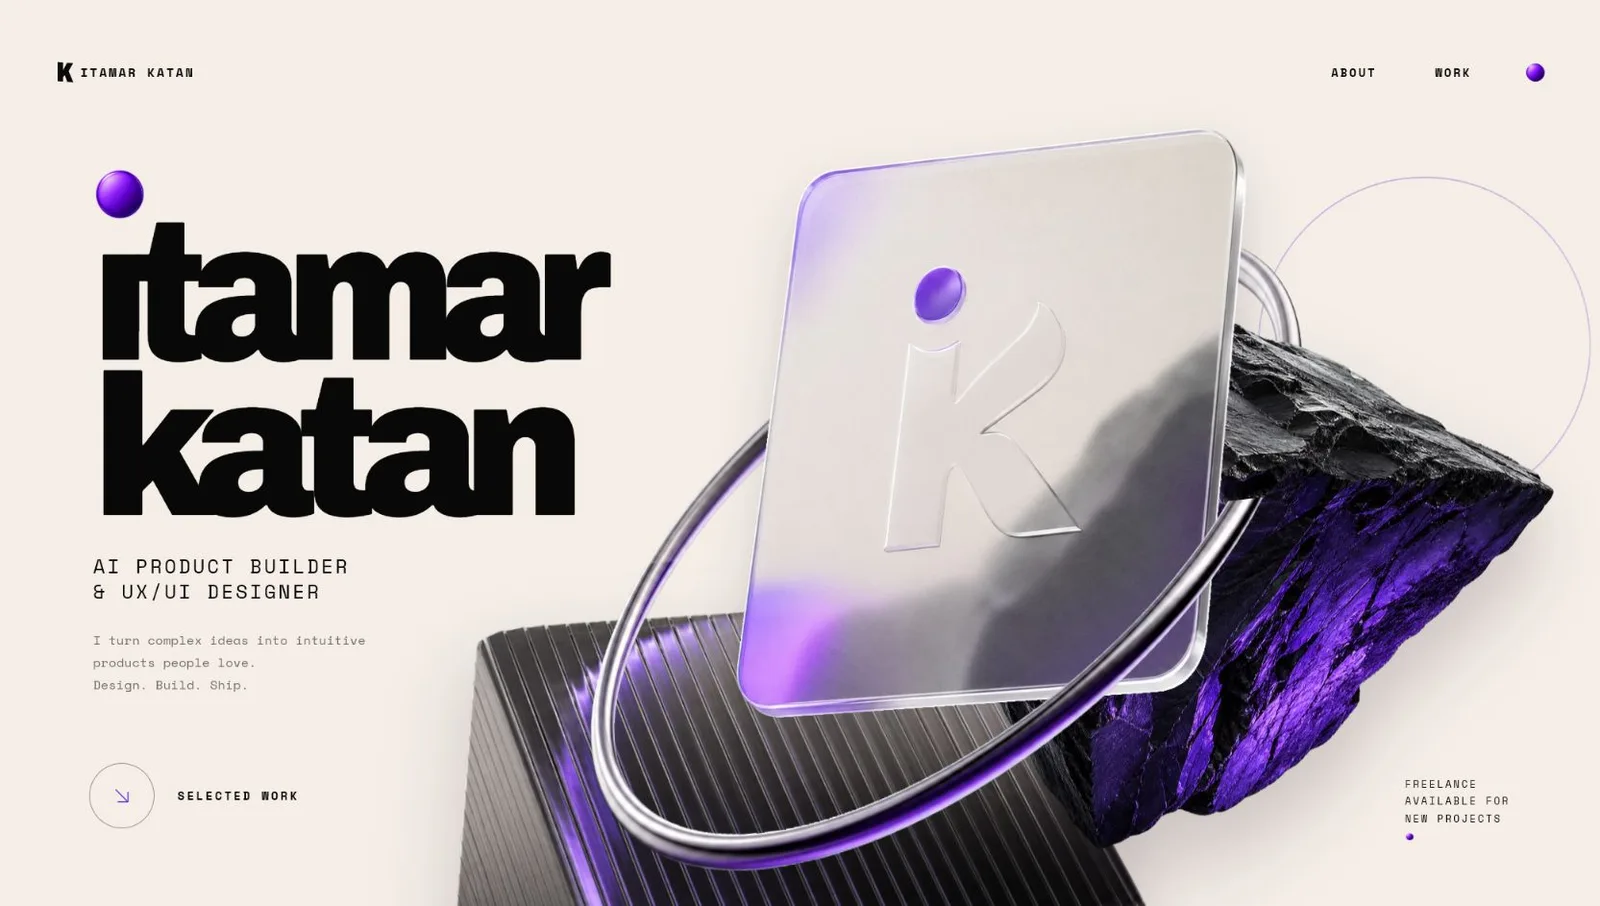
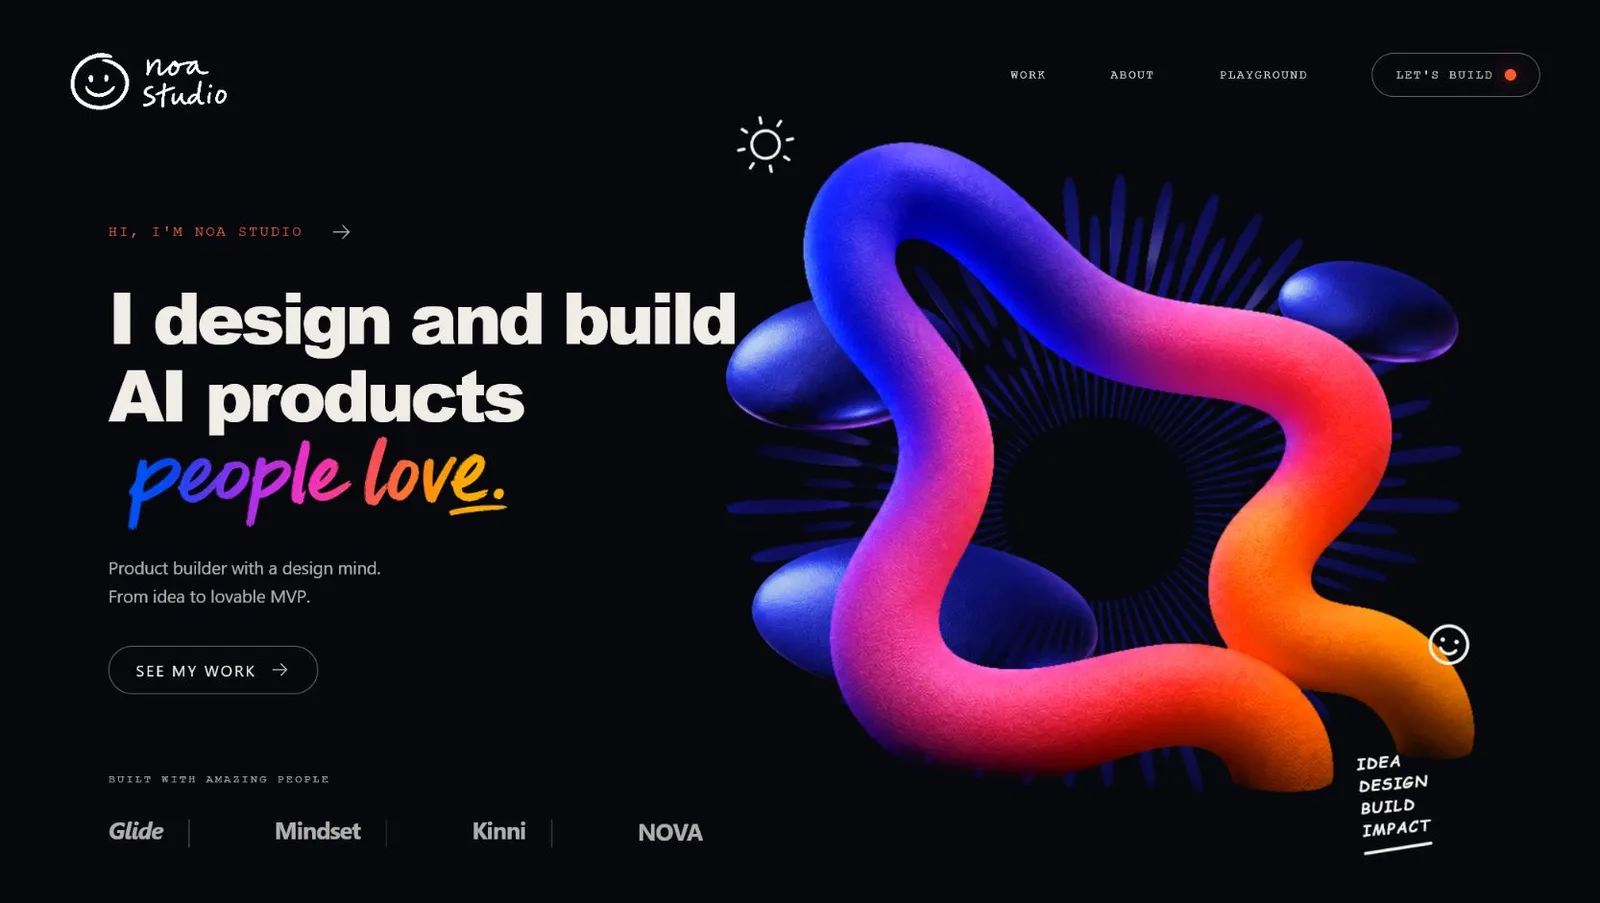
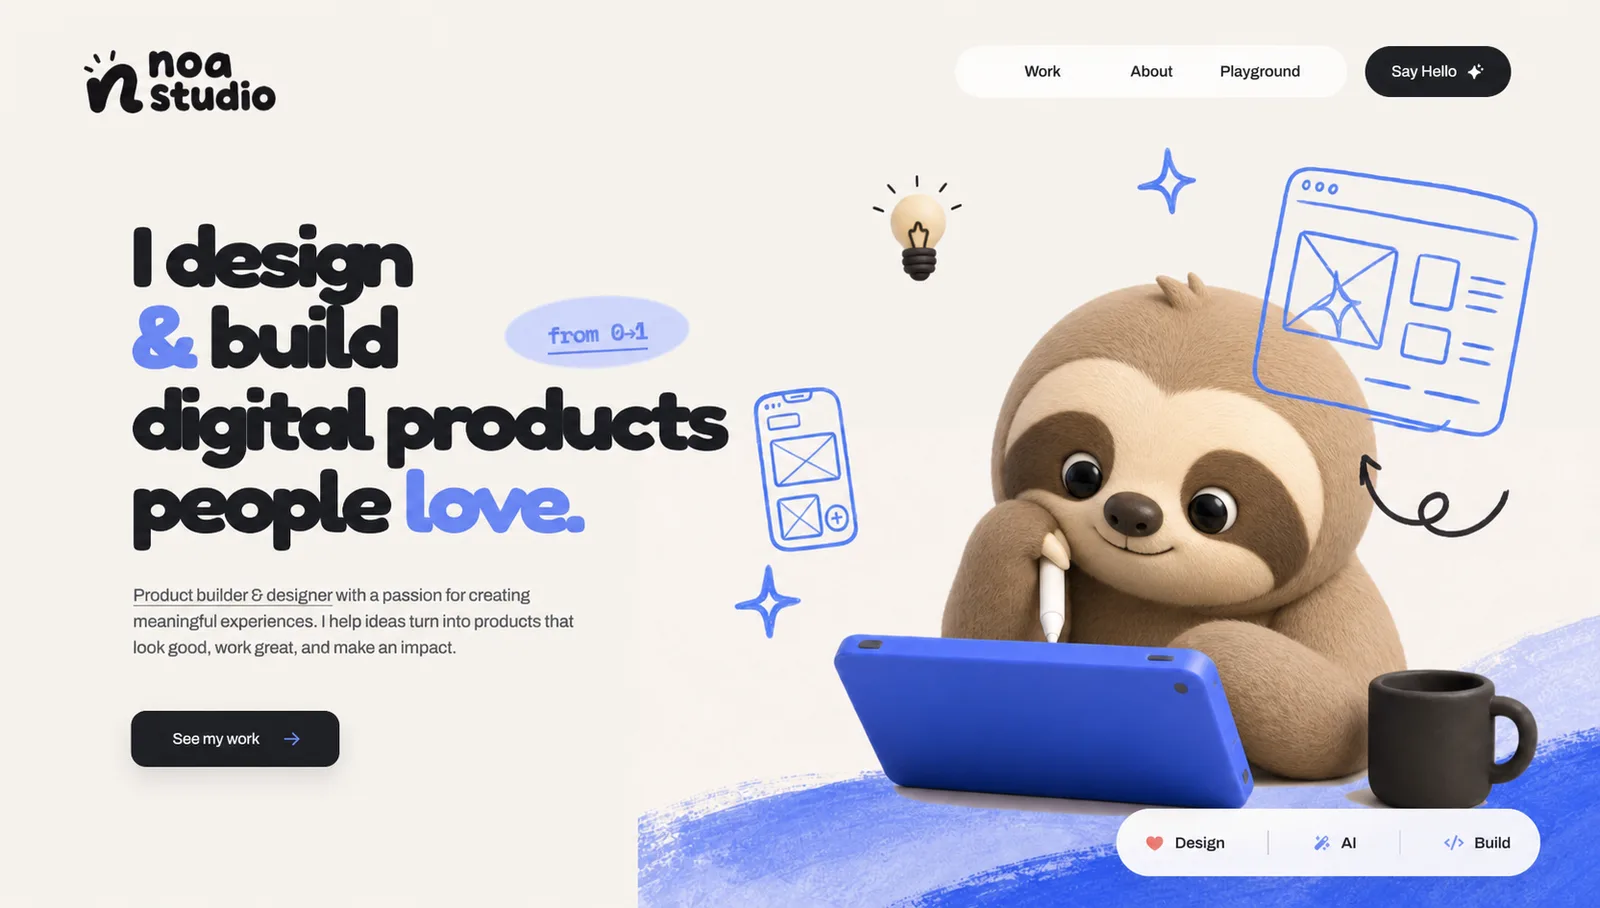
There is no single "AI aesthetic" to discover. Your taste is what steers the tools toward a clear, distinctive direction.
Build your visual language.
Follow the feeling. Search for anything and take inspiration from anywhere. A reference that only captures the mood you want is completely valid. What matters is that the references you pick make sense together. I usually collect 3-4.
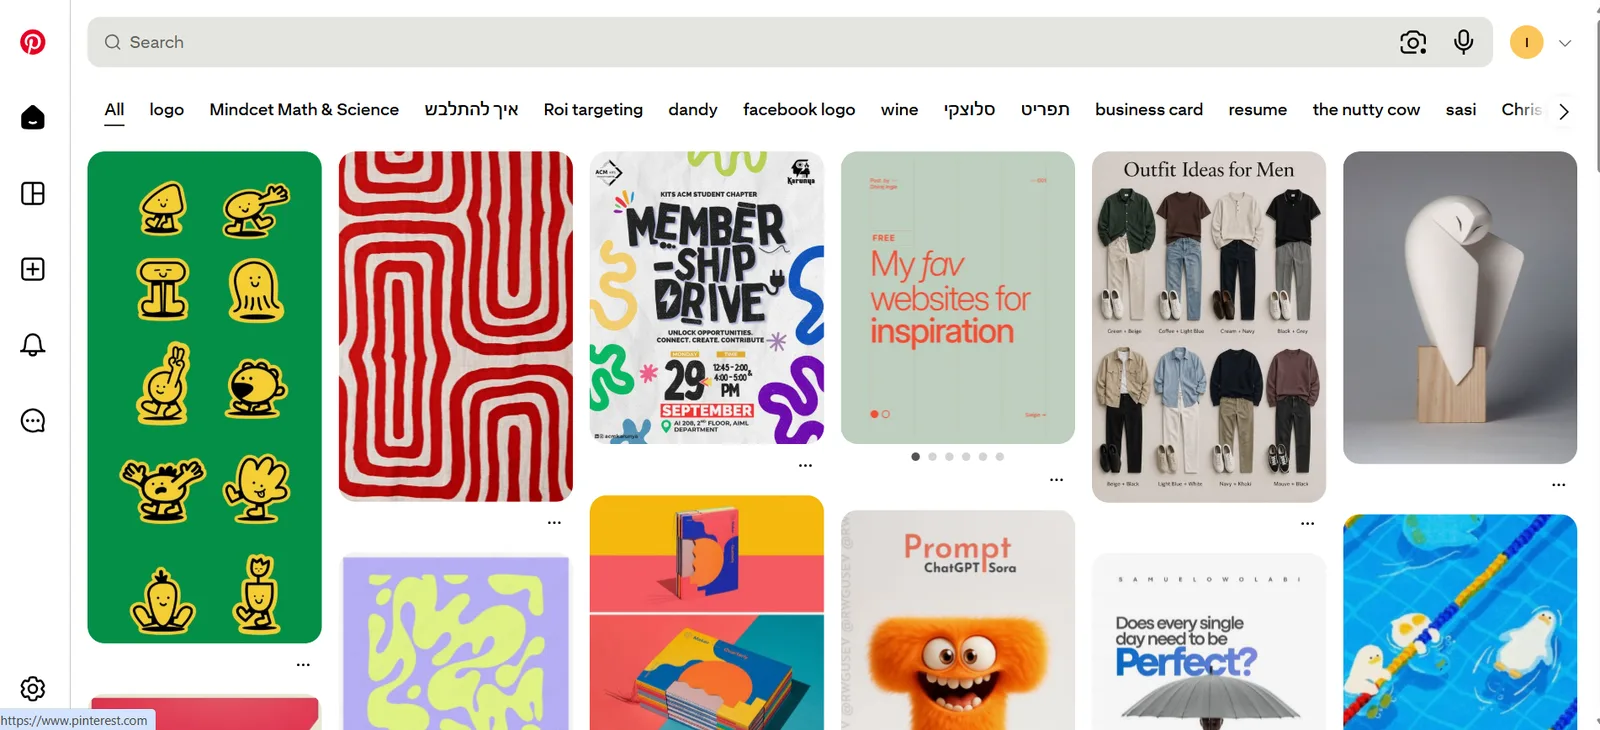
Give ChatGPT the full picture.
I use ChatGPT in the browser for this stage. You can see several images side by side, talk through each reference and keep refining the concept in one conversation. A useful brief answers four questions:
- What are we designing, and who is it for?
- What should the visitor understand or do?
- What should the design make people feel?
- What should we borrow from each reference?
Show ChatGPT the range you want, not one polished answer. In the Meraki Mind example, two directions mark the edges: a clean orbital composition and a richer product-system layout.
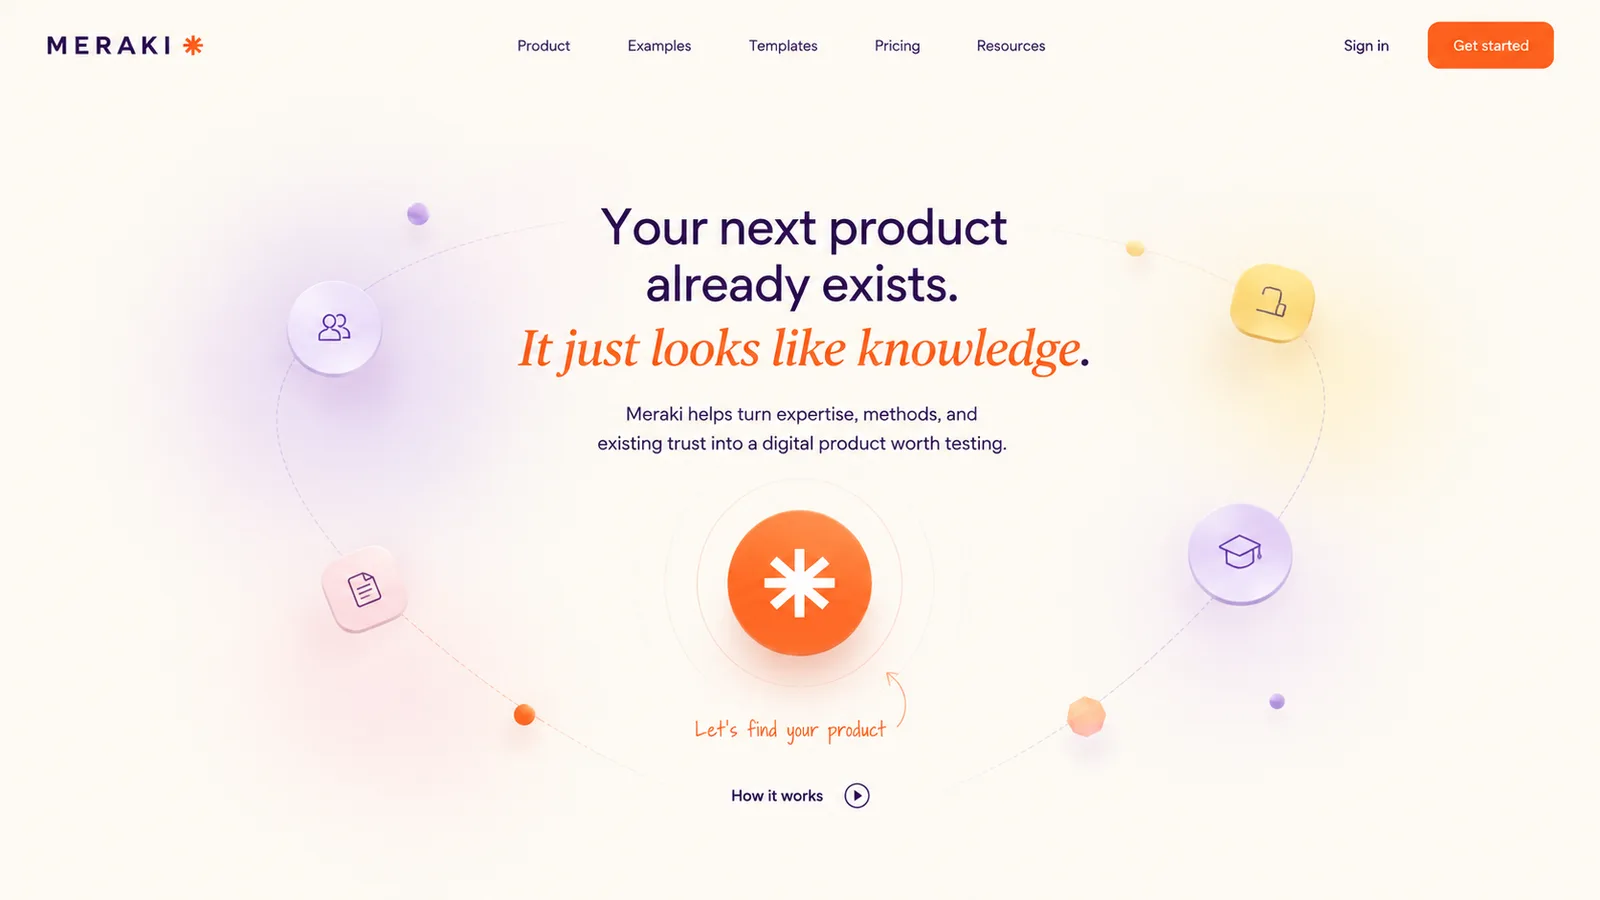
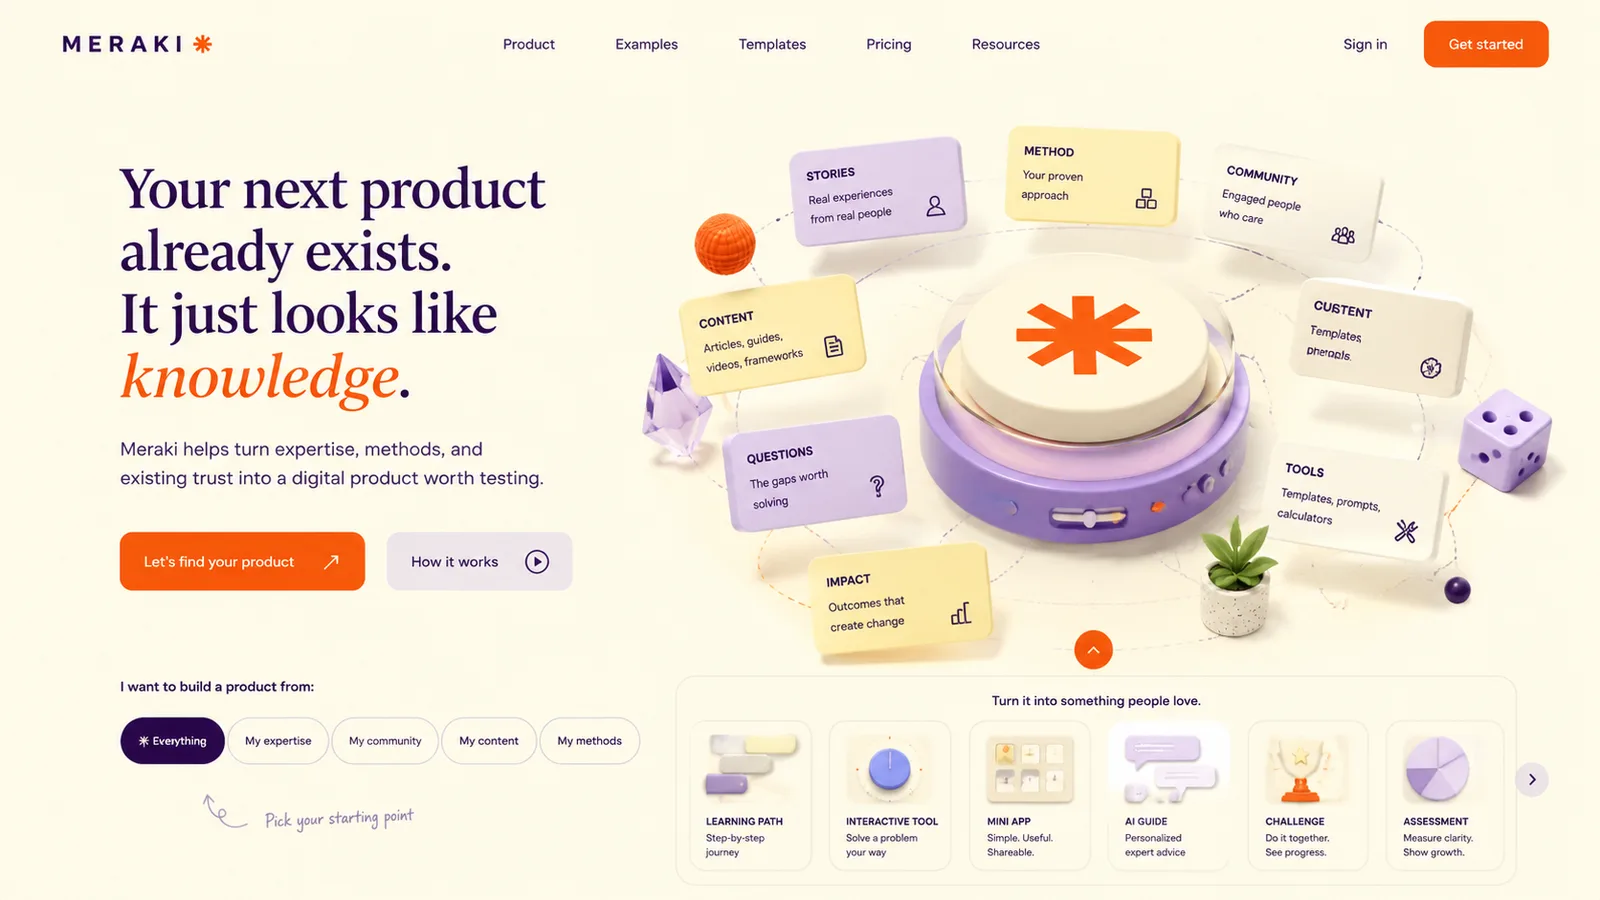
One direction. Two iterations.
Now the goal changes. You stop exploring unrelated options, take the clean direction from the last step and improve the same idea twice until it's the final concept.


Name the colors, character, typography or layout decisions that have to stay.
- "Keep the idea. Make it brighter and cleaner."
- "Make the character the clear focal point."
- "Try three layouts without changing the visual language."
Turn the image into a blueprint.
Now move from ChatGPT to Codex and use the Image to Code skill. If it isn't there, install it from Plugins.
- Create and open a new project folder in Codex.
- Open Image to Code (install it from Plugins if it's missing).
- Attach the final concept image.
- Ask for the closest possible visual match, with every asset created separately.
- Run it locally and compare it with the image.
- Ask for precise fixes, then test tablet and mobile.
The first build can get close, but the quality comes from comparing. Check spacing, scale, image crops, typography and responsive behavior one detail at a time.
Repeat the workflow. Keep the visual language.
Go back to the ChatGPT conversation where you made the first concept and design each new section there, one at a time, so the visual context stays intact.
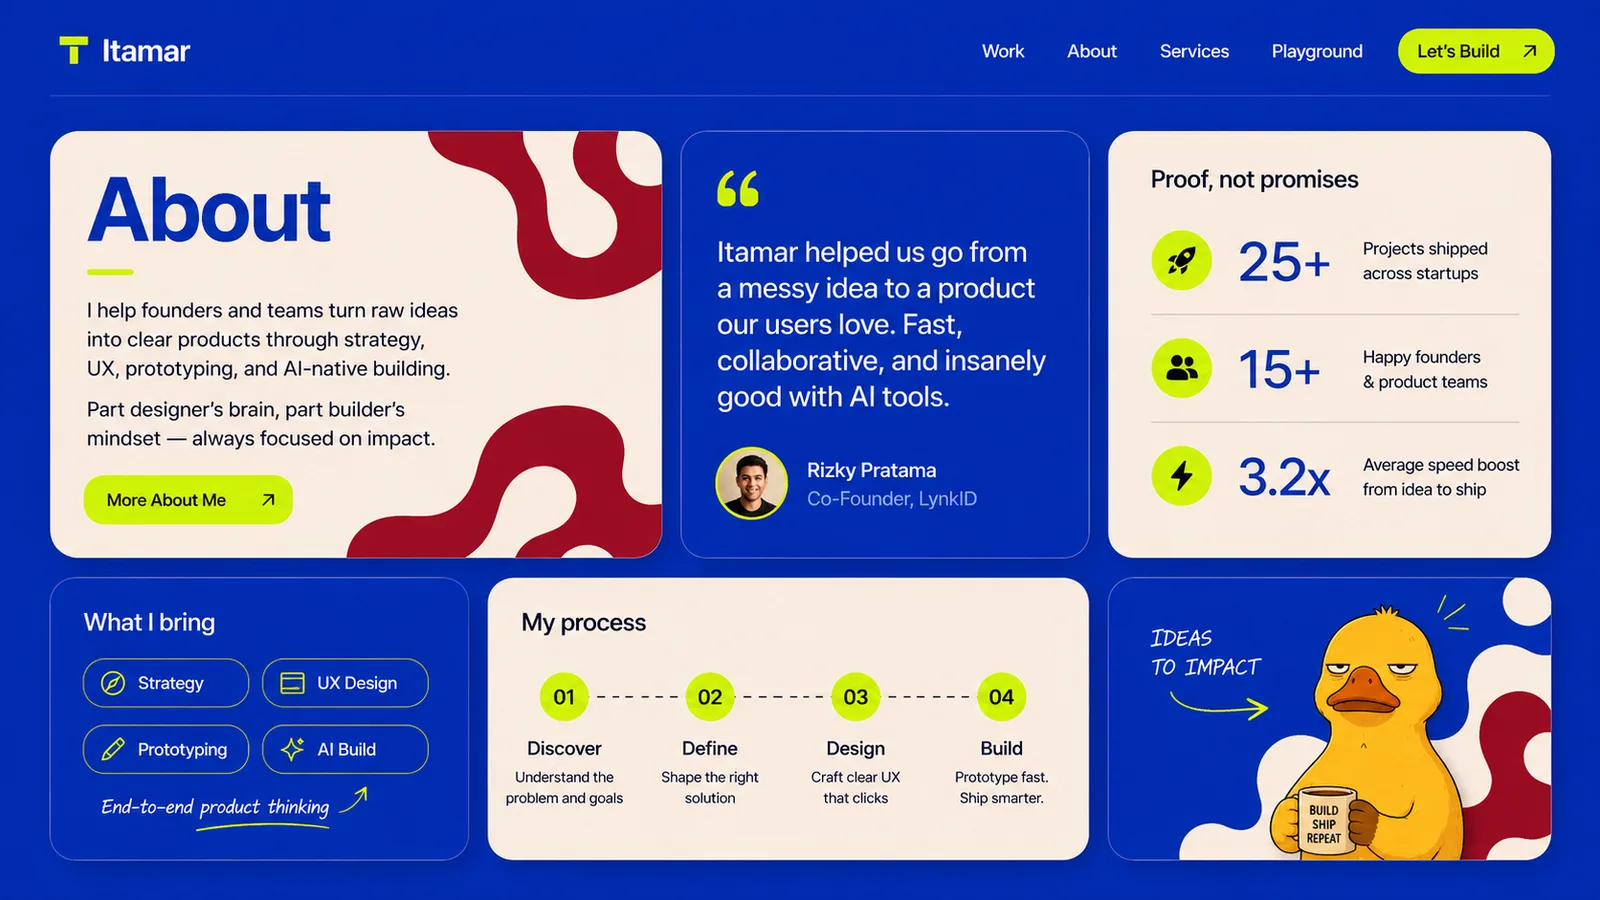
For functional sections, add UX references too. For features, pricing, customer stories, forms, navigation or onboarding, collect examples from strong websites and competitors. Familiar patterns help people understand the interface fast, while your brand, content and visual language stay yours.
Build it. Put it live.
- 01Collect 3-4 cohesive references.
- 02Generate three distinct concepts.
- 03Refine with specific visual feedback.
- 04Build the chosen direction in Codex.
- 05Repeat for every section.
AI makes production faster. Your taste, clear decisions and willingness to refine are what make the result feel like yours.
Try the interactive guide, with live hero previews, on Meraki MindDesigning with AI, without the slop.
What is AI slop in design?
AI slop is design that looks generated: generic gradients, the same stock layouts, random 3D blobs and copy baked into images. It happens when the tool makes the decisions instead of the designer.
How do you design with AI without it looking AI-made?
Start from your own taste, not from a prompt. Collect 3-4 references that fit together, tell ChatGPT what to learn from each one, generate three genuinely different directions, refine one of them with specific feedback, then rebuild it in Codex with every asset as a separate, editable piece.
Which tools does this workflow use?
Pinterest for references, ChatGPT in the browser for concepts and iterations, and Codex with the Image to Code skill to turn the final image into a responsive page.
Do I need to know how to code or use Figma?
No. The workflow was written for people without coding or Figma experience. You need taste and patience to compare the build with the concept and ask for precise fixes.
Is there a magic prompt?
No. The prompts help, but the quality comes from repeating the same loop for every section: references, three options, specific feedback, build, compare.
Who wrote this guide?
Itamar Katan, an EdTech product designer and AI builder. It's a companion to the interactive AI design guide on Meraki Mind.